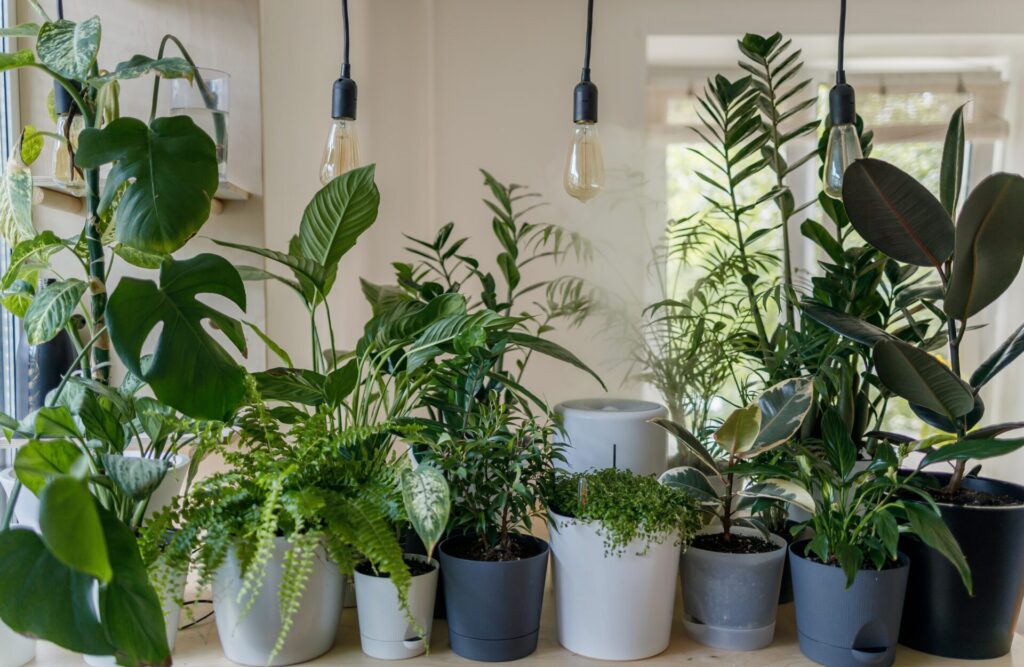
Many years ago, I had fifty-three houseplants and a small house. I knew all their Latin names and was quite insufferable in any houseplant discussions – nobody likes a know-it-all. I had uncorked a green thumb that had been screaming to get out, but once out, it was impossible to control – I could not seem to get enough! So I collected, bought and propagated my way into a jungle that took hours to water properly – less time if I watered them improperly (a common mistake many make with houseplants). I had a wide variety of plants ranging from starter pots to floor size. Most were easy care – as I’ve mentioned in other posts, I am a lazy gardener, and that is no different when indoor gardening. However, as also mentioned in other posts, just because something is easy to grow, does not mean it doesn’t need any care at all. In those days I had loads of time to care for them and, as my passion for outdoor gardening suffered terribly over the long winter months, indoor gardening was the most reasonable alternative until I could get back in the garden again.
While I was finally able to break the spell and only have a half dozen now (and they all complain of neglect – clearly, times have changed), I still recommend keeping a few houseplants in every home. Their contribution to a home’s aesthetics is undeniable, and I feel they keep us a little closer to the natural world, which is always good for us. These little oases of green can be particularly uplifting in winter while helping improve the air quality during those many months of closed windows and forced air heating.
During their dormant period – typically November to January – you will notice that houseplants grow more slowly, if at all, and lose more leaves than usual. This is a time when we are at most risk of over watering. Like us, when plants rest, they don’t need as much food or water, so fertilizing and watering should be reduced. If your plants seem too dry, you may do better to mist them to increase the humidity, rather than add more water to the pot. Remember, many houseplants are tropical and adapted to a higher humidity than our hot and dry winter houses can provide. Nonetheless, don’t stress if you see extra leaf loss or a certain “tiredness” to their appearance at this time of year.

For the majority of the year, care for houseplants is minimal, involving mostly watering and the odd bit of pruning. After their dormant period, indoor plants will resume active growth as the days grow longer and the sun sits higher in the sky. Mid-January to March, is a more dynamic period for indoor gardening. This is an excellent time to refresh and rejuvenate your collection by dividing and re-potting. You will also increase your collection and might have a few extras to share with friends.
Included in this post are:
- Possible causes of winter distress
- Signs your plant needs re-potting
- How to divide and re-pot plants and needed supplies
- Tips for buying new plants
- Watering houseplants
Possible causes of winter distress
- Check the light exposure. During summer, the sun is warmer but also sits higher in the sky. While the plant may get less daylight, sometimes the angle of the winter sun can actually scorch the leaves. Try moving the plant further from the window to see if that improves its appearance.
- Check for spider mites or other pests. Dry air makes our plants particularly susceptible to invasion, particularly by spider mites. The damage these wee beasts cause looks a lot like the plant needs more water – leaves become mottled, dry, curl up, then fall off. Using a magnifying glass, inspect the under sides of the leaves for teeny-weeny little bugs that look like red spiders, or the more often noticed silky webbing at the base or on the undersides of leaves. Remove and dispose damaged leaves, spray with a pesticide suitable to indoor use – a few drops of Dawn dish soap mixed with water may also work. Take special care to spray the undersides of the leaves. I find showering my plants (take to the shower, not in your living room) to wash the leaves off first. These creatures are hard to get rid of and quickly spread to neighbouring plants, so keep a watchful eye, treat promptly and often until gone!
- Check if the plant is too close to a heat register. Not usually an issue in summer, but once our furnaces get going, this can be very drying for our houseplants.
- Check that they are not overwatered. Rather than dry and crispy when a plant is dry, the leaves will go yellow and a little mushy if they are getting too much water or left to sit in water. I have included a specific section at the end of this post about the proper way to water most indoor plants
Signs your plant needs re-potting:
- If the plant pot dries out quickly. If water pools on top of the soil, or runs straight through despite being watered regularly, it is essentially all roots (pot bound) and no soil/potting medium, so nothing to absorb and retain the water.
- If your plant doesn’t get any bigger. Plants are expected to grow. If they aren’t, then they likely need more nutrients and/or more space for their roots. Re-potting will accomplish both. If the plant is large, it may be better to divide into 2 or more pots.
- If the top of the soil looks more like ash than soil. Crusty soil on top or the sides of the pot, fine dusty texture, grey or weirdly black (sorry, I have no better description than that) typically indicates your plant could use some new fill. You can just top-dress if the plant is already as large as you want (we only have so much space), or would suffer from the handling (to large to manage). Without damaging the roots, remove some of the top layer of soil and replace with fresh potting mix. You may find this is all the boost your plant needs and it will better absorb and retain water.
Supplies for re-potting:
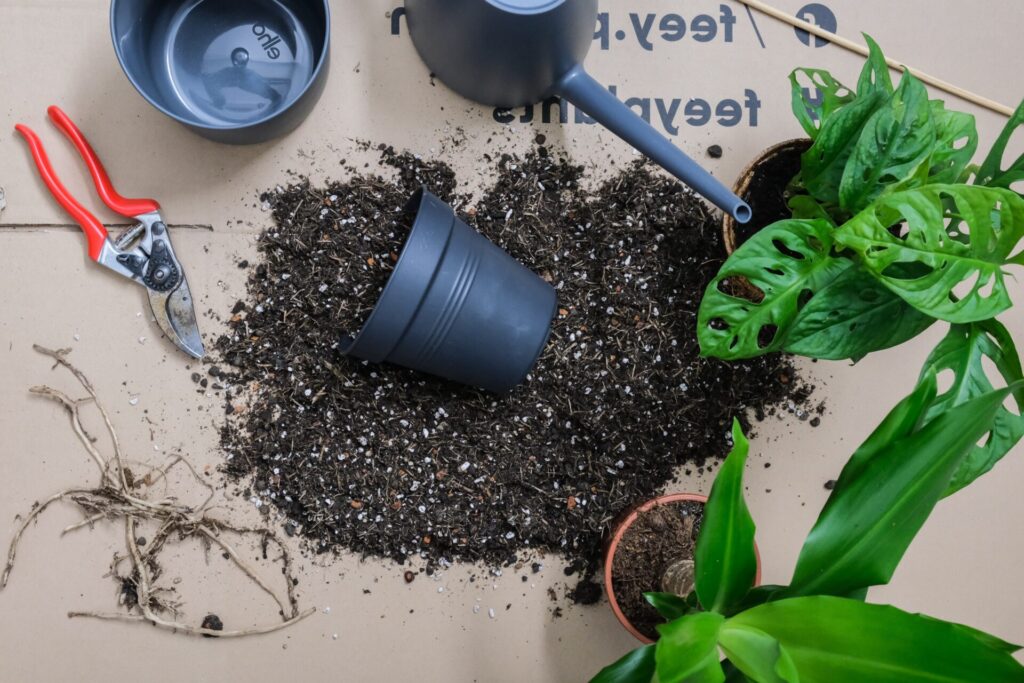
- Plant pots – New/clean pot that is one, to not more than two, sizes bigger than the old pot. Like us, they like to be cozy. Too large a pot seems to slow further top growth, as your plant focuses its energy into pushing out roots – almost as if they need to touch the sides before they can start growing up again. Some plants actually prefer tight quarters or don’t like to be moved, so top-dressing with a layer of new soil/growing medium might be better than totally re-potting.
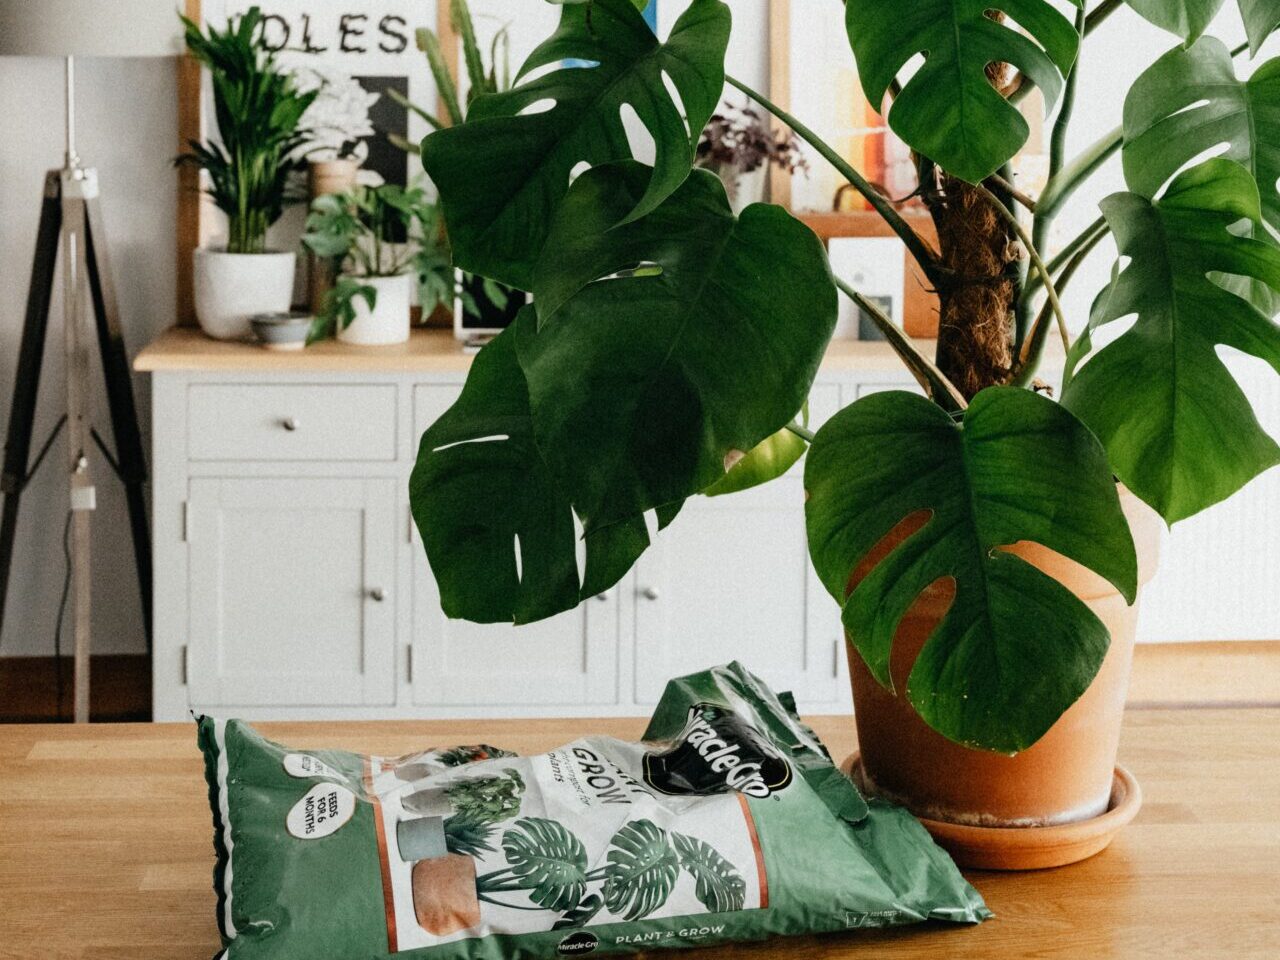
- Potting mix – use the right mix for the plant – use a standard potting mix for tropicals; cactus mix for succulents and cacti; African violet mix for (you guessed it!) African violets; orchid mix for orchids. Never use garden soil for indoor plants. It will turn to stone and is often too rich in nutrients for indoor growth… not to mention the little critters that ride along in the soil.
- Drainage – This is probably the single biggest mistake when potting plants – we find that perfect pot that goes with our décor, but it has no drainage holes. Either plant in a greenhouse pot – those “cheap” plastic pots with holes for drainage – then insert into the decorative pot, or use a good layer of stones in the bottom to keep the soil from becoming saturated – no plant, except water lilies, likes perpetually wet feet. Be careful to pour off excess water from drip trays.
- Sharp Knife – for cutting root balls
- Pruners – removing damaged foliage
Dividing
Be careful, as not all plants can be propagated through division. However, most do.
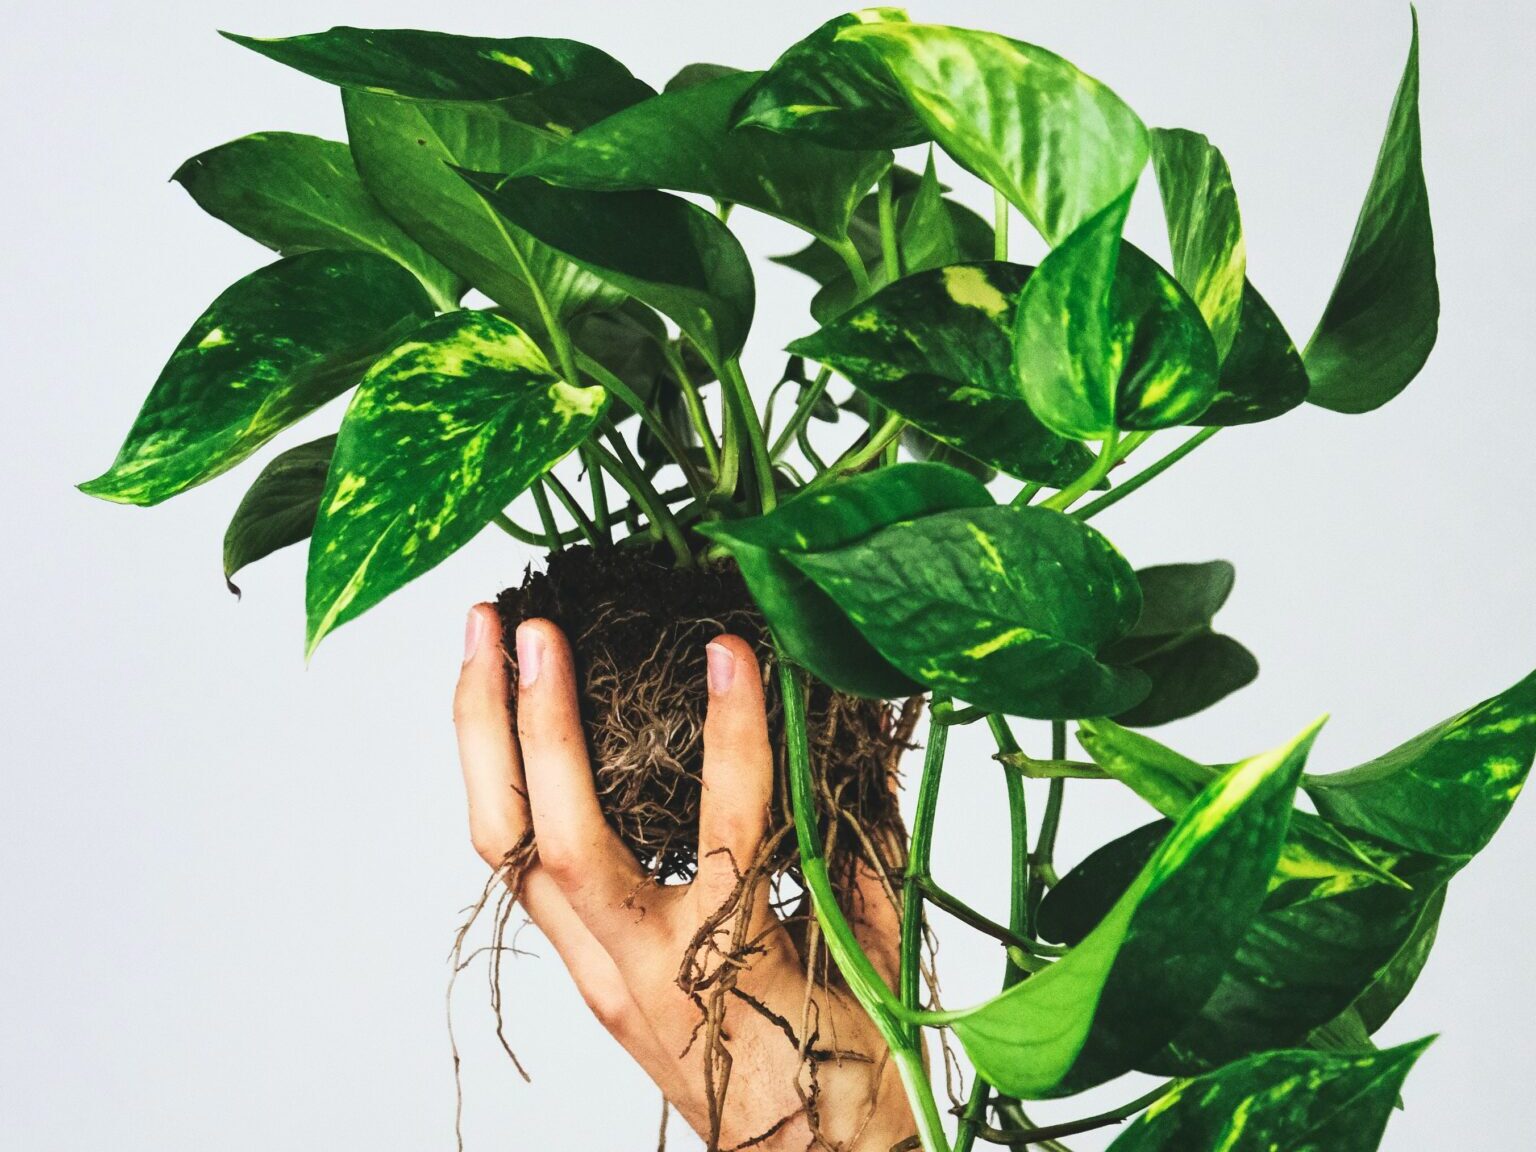
- Lightly water the plant the day before you plan to re-pot
- When ready to plant, tip the pot upside-down and gently ease the plant out of the pot
- If there are long white roots circling the bottom of the pot, cut and tease them out to splay on the bottom. If it is particularly root bound (a firm root ball) use a sharp knife to make a few vertical slashes along the root ball and gently tease out these finer roots – this will help it start new root growth.
- Using a sharp knife, divide the root ball into halves or thirds; or cut straight down between the main plant and any plantlets (like African violets). As you need a firm clump of root to get your new plant up and running, don’t make the pieces too small – your plant won’t have enough roots to absorb the water and nutrients to support top growth. An adequate root ball will continue to thrive and is quicker to resume growing. A root starter will help speed up this process, but it is not required. Similarly, ensure you have enough top growth (leaves) that the plant can maintain the photosynthesis process.
- Avoid leaving the cut/exposed roots to dry out. Make sure your new pot is ready to fill before cutting the root ball.
Potting:
- Using a pot one size to, not more than two, sizes bigger than the plant was in originally, add a layer of stones for drainage – yes, even if your pot has drainage holes.
- On top of your layer of stones, add potting mix to create a base for the root ball
- Place root ball in centre of pot and back fill with potting mix, cover the top of the original root ball with a light layer of new mix. If plant is floppy and needs support to stay upright add more soil to top, but be careful not to bury it too deep. Most plants like the level of the soil to be close to the same as was in their old pot.
- Tamp the soil down the sides to remove lumps and air pockets so plant is firmly supported – be careful not to crush the roots.
- New transplants: as the first few weeks are focused on root growth, top growth may slow or stop for a period after transplanting (transplant shock). Avoid excessive watering, harsh light, or low humidity. Misting your plant will restore some of the moisture through it’s leaves while it re-establishes its root system.
- Prune off any dead or dying leaves/branches. This helps the plant to focus on new growth rather than restoring damaged foliage.
- Water – the small hairy roots that take up water and nutrients are now disturbed and not functioning at full throttle, so be mindful of how you water
- Using warm water (bath water temperature), rather then cold or room temperature, improves soil absorption. Soil absorbs warm water more easily – I don’t know which physics law supports this theory, but I know it works.
- Water in stages until pot feels heavy for its size and has lost the “hollow” sound when you tap on the sides.
- Allow to drain completely between applications.
- Do not fertilize – it doesn’t need it.
- Thereafter, water lightly and mist top growth to enhance humidity while roots become established.
- Position in bright, but indirect light.
- Give pot a ¼ turn every couple days to keep plant growing straight up.
- Resume normal watering (keep moist, but not wet for most tropicals) once new top growth starts again.
- allow tap water to sit 24 hours at room temp for the chlorine and such to dissipate
- water regularly and consistently
- Pinch off leggy growth – promotes bushier top growth by pushing growth back down the stems; can be done anytime, except during dormancy period, even if not repotting; if plant is very leggy, cut back by ¼ to not more than 1/3 – not all plants like this, so be sure to know your plant’s growth habits
If you’re new to growing houseplants, consider the following when choosing plants for your home:
- Know the directions your windows face so you understand how much natural light you have.
- Read the plant label to ensure your home can provide enough light to support that particular plant. Most tropicals do not require direct sun, but do like bright light. Many are also tolerant of quite low light levels.
- While those big shrubby plants look amazing in our homes, keep in mind that they have been spoiled by perfect greenhouse growing conditions. It is unlikely your house can simulate that. In my experience, smaller plants (4 or 6-inch pots) seem better able to adapt to our less than perfect conditions. The smaller plants are also less expensive so, if you are still learning how to care for plants, you don’t lose so much if they don’t thrive. Take heart! They grow faster than you’d expect.
- Choose common, lower maintenance plants until your skills evolve. You will find it more rewarding and there are many lovely plants to choose from. Plants you see growing in offices and malls are usually easy-care selections. Low maintenance plants are no less beautiful than those high maintenance types and you will probably like them even better because they don’t need so much attention.
- Be sure to read the plant tag, and locate, water, and prune as directed.
- Here are a few suggestions:
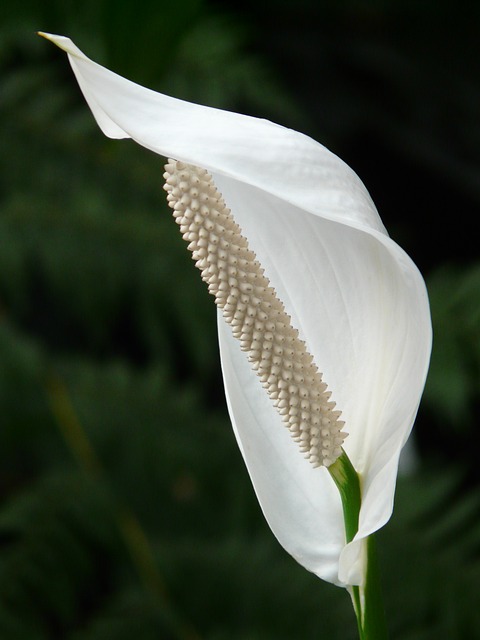
- Spathiphyllum (Peace lily)
- Ficus (Fig tree)
- Schlumbergera zygocactus (Christmas/Easter cactus)
- Saintpaulia (African violet) – don’t get water on its leaves
- Cissus rhombifolia (Grape-leaf ivy)
- Radermachera sinica (China Doll)
- Aglaonema (Chinese evergreen)
- Chlorophytum (Spider plant)
- Scindapsus (Golden pothos, aka devil’s ivy)
- Syngonium (Arrowhead)
- Asparagus (Asparagus Fern)
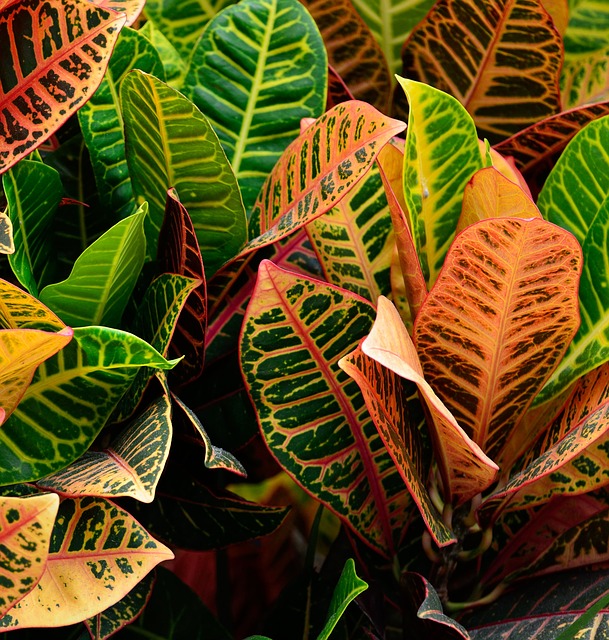
- Euphorbiaceae (Croton)
- Solenostemon (Coleus – don’t let it dry out! Even slightly dry, this plant’s leaves will droop and wilt – don’t ignore the early signs)
- Araucaria (Norfolk Island Pine)
- Hippeastrum (Amaryllis)
For more tips on indoor and outdoor gardening, check out the AllSage Gardener website.